In this activity, you will:
– Access the TPC admin console
– Register your device using the DevEUI that you identified in Step 6.
In this activity, you will:
– Access the TPC admin console
– Register your device using the DevEUI that you identified in Step 6.
In order to be able to receive and view the LoRaWAN® packets that you send with your device, it should be registered with TPC.
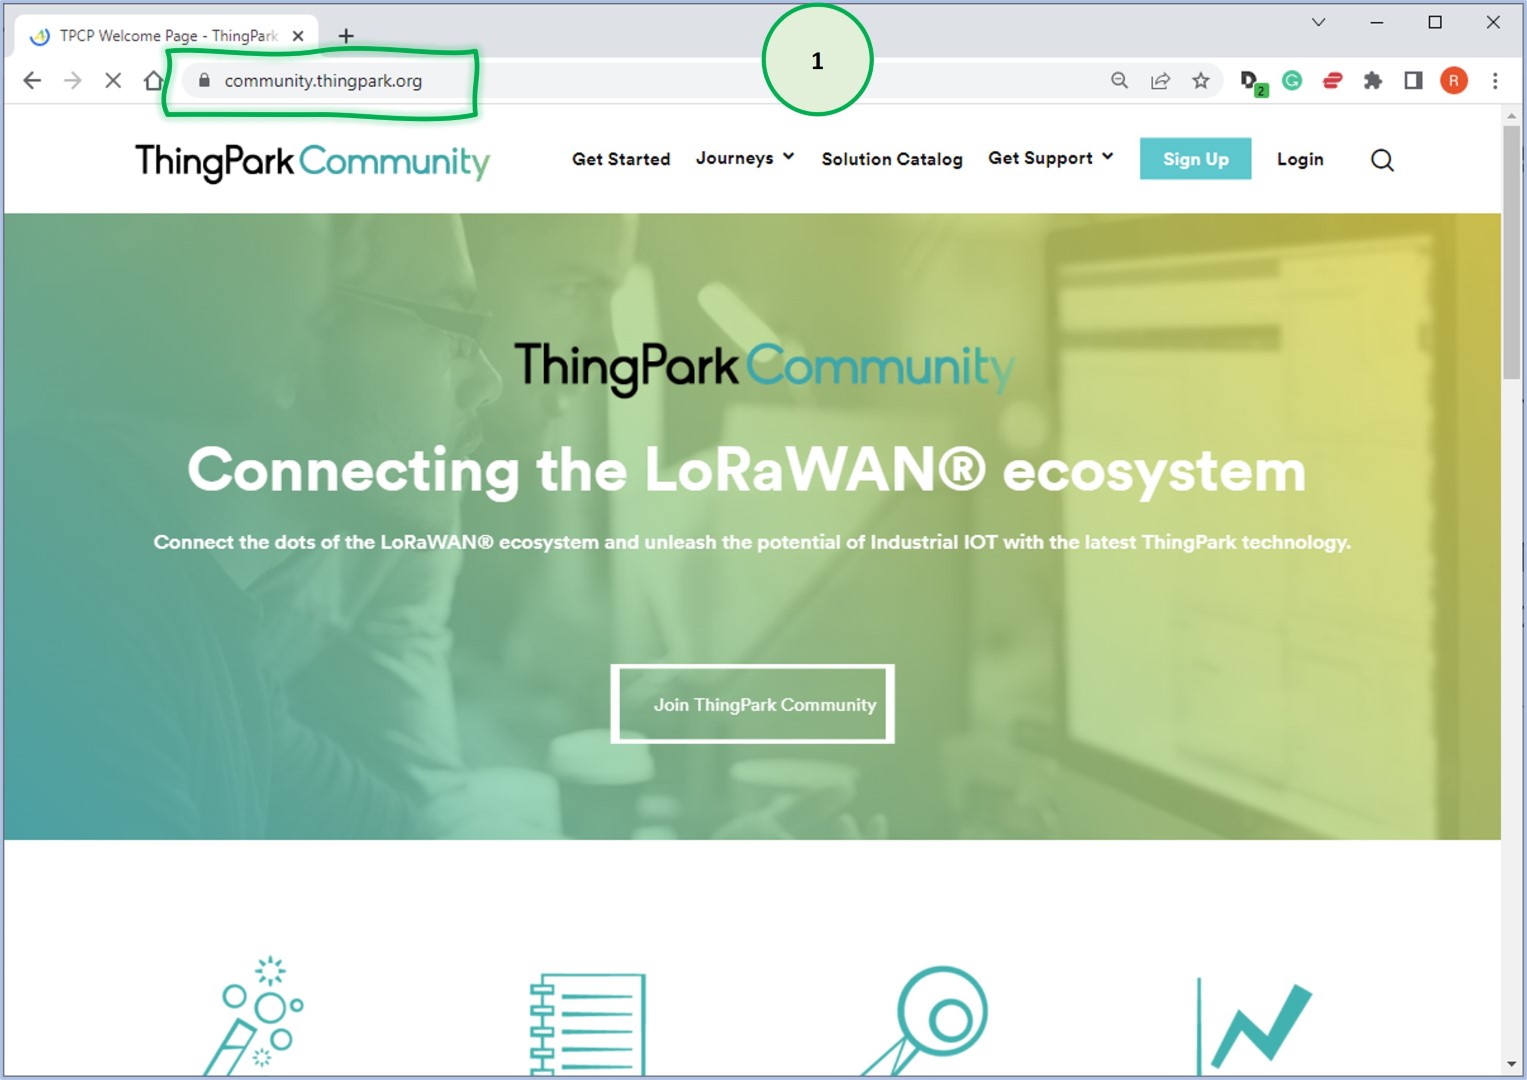
Access TPC from here.
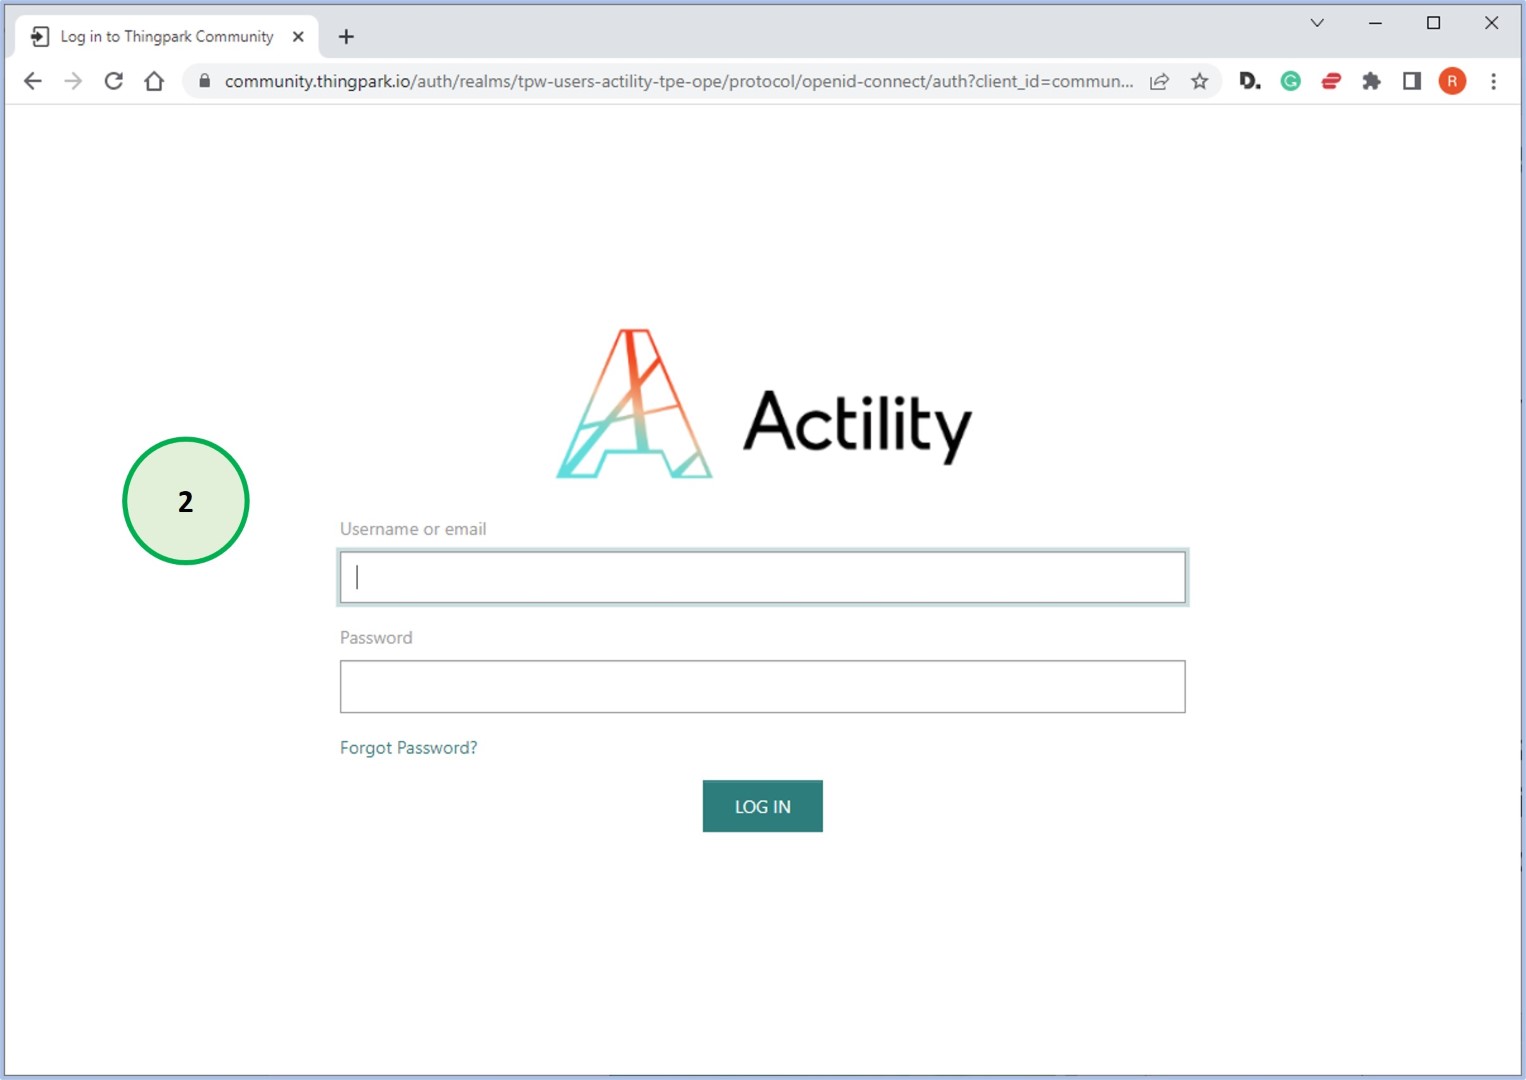
Enter your TPC email and password to access the admin functions.
Click on the ThingPark Admin Console.
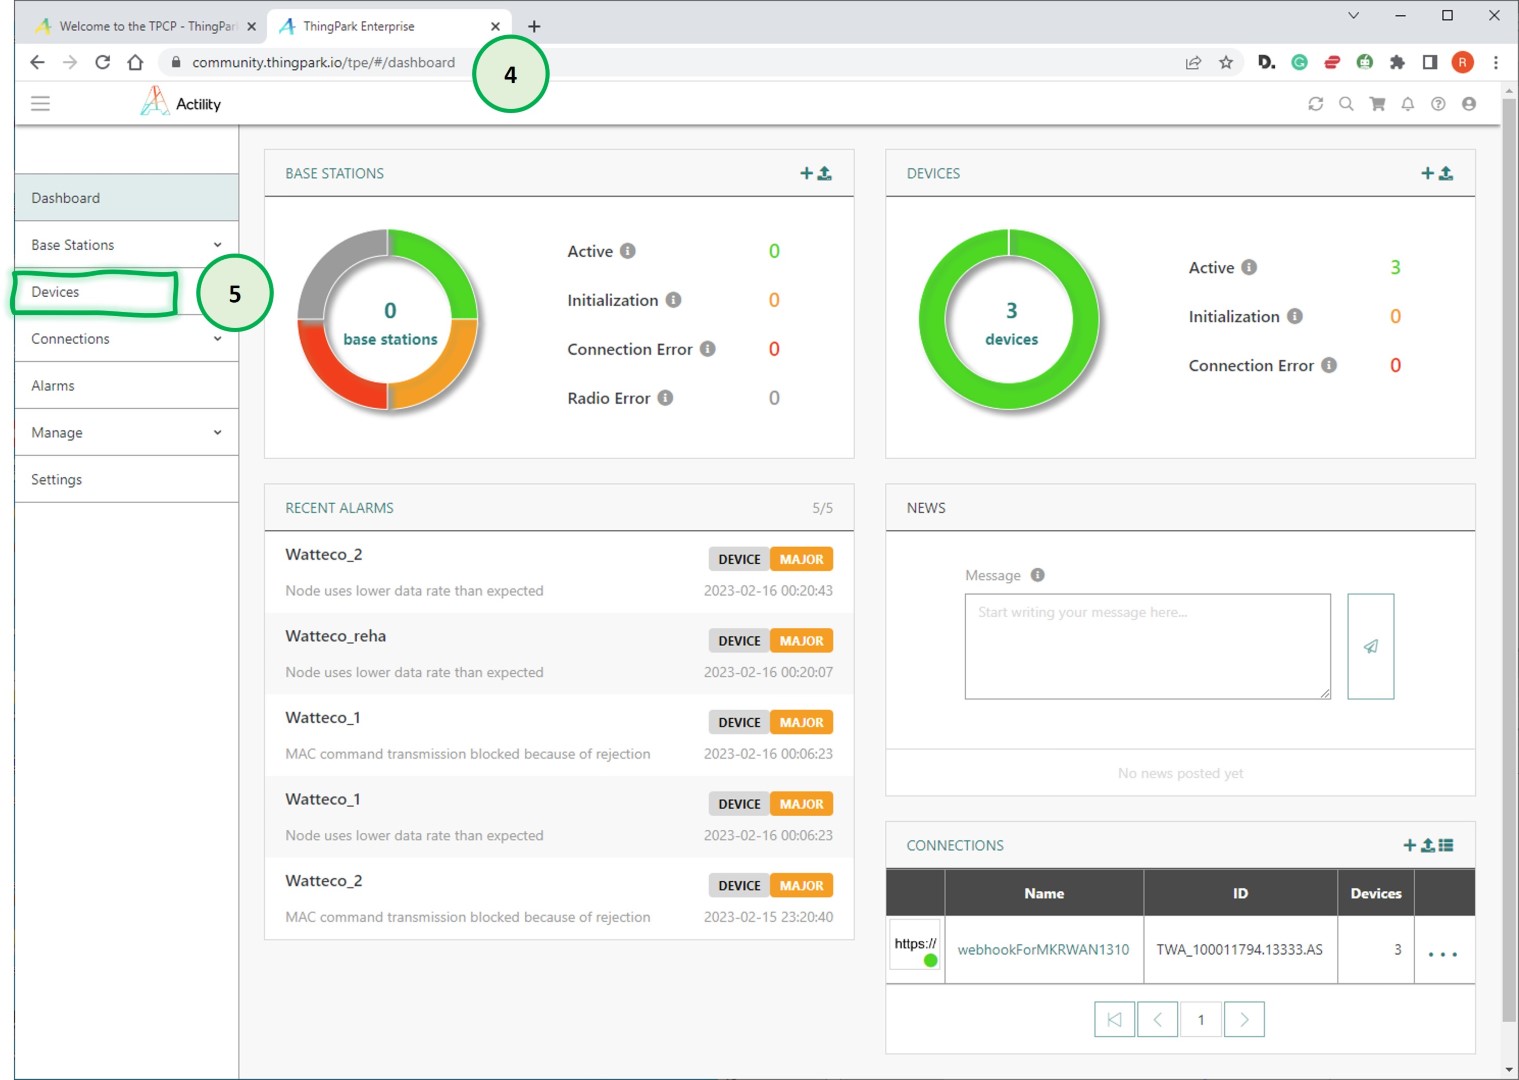
You now have access to the TPC control panel.
Click on Devices in the left menu.
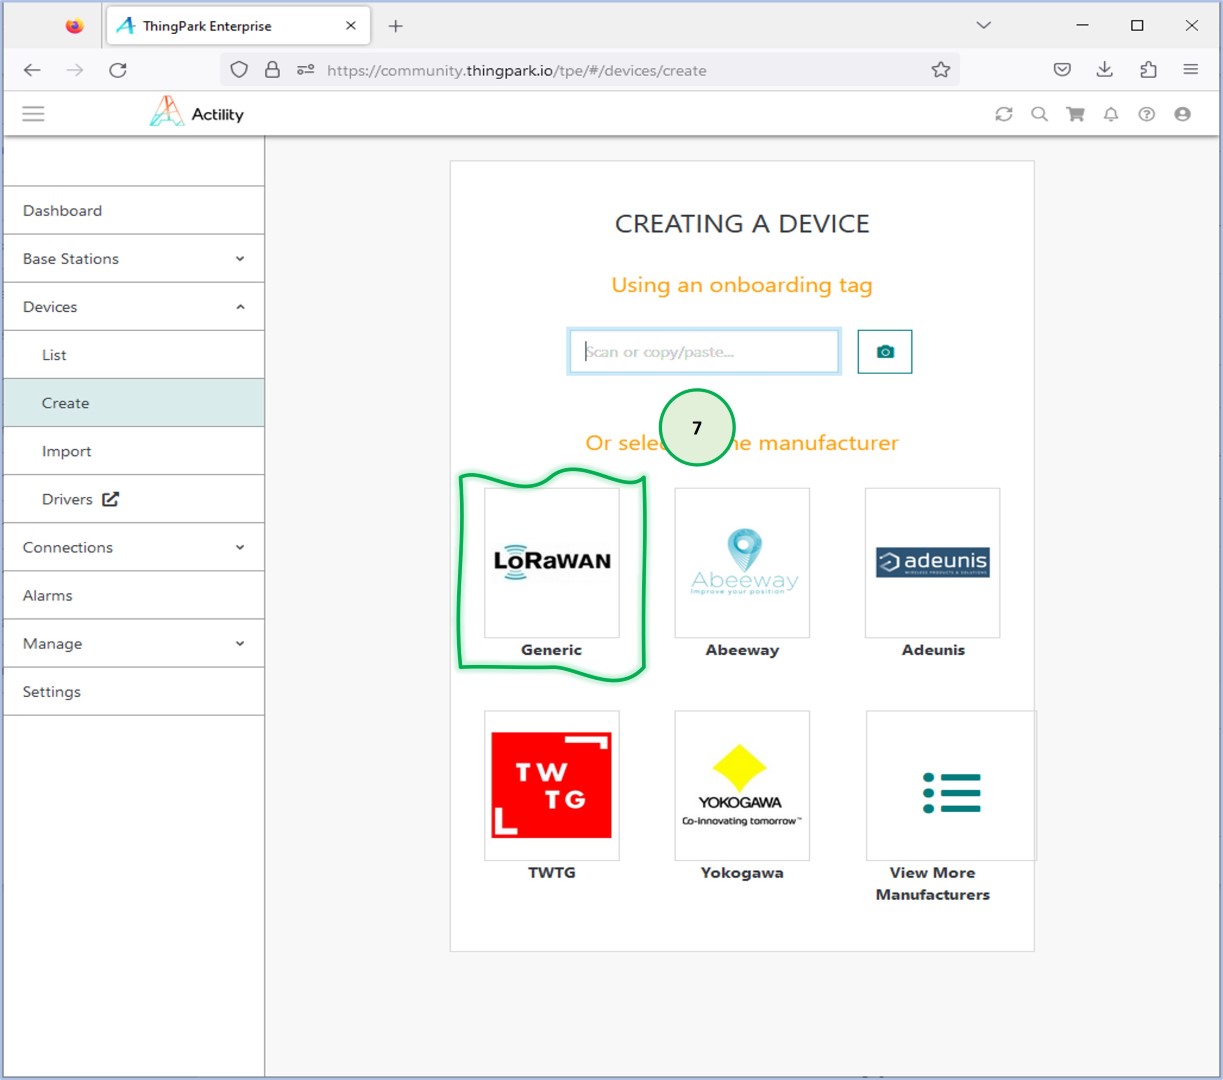
Click on Create in the left menu.
Click on Generic in the menu.
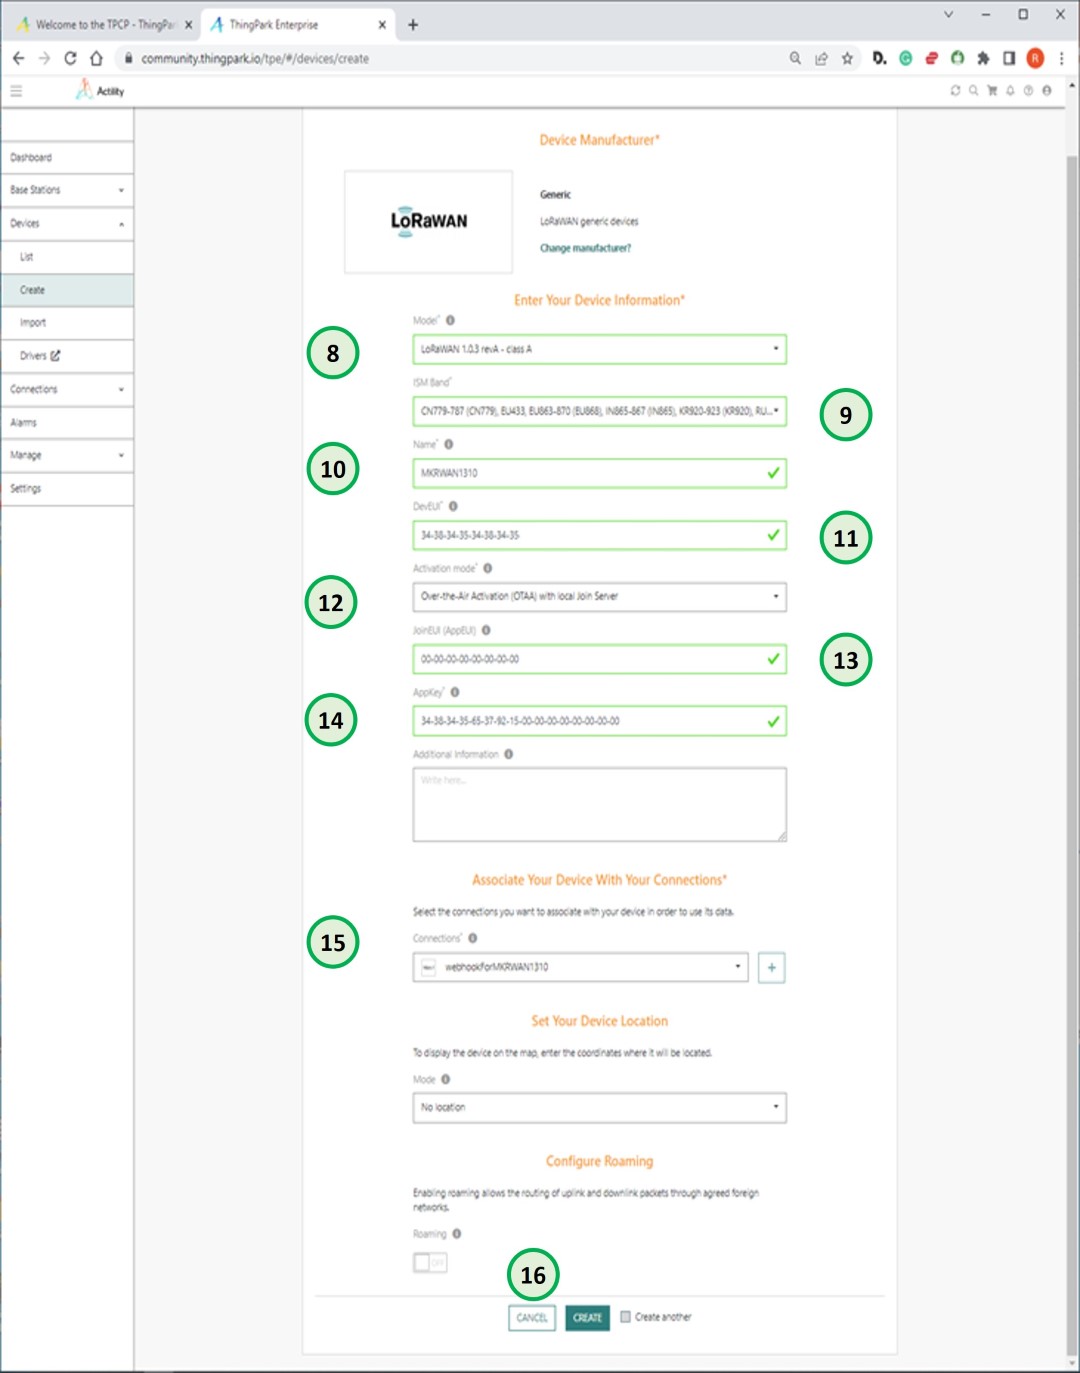
Select LoRaWAN® 1.0.3 revA – class A, from the dropdown list for the Model field
Select EU863-870 in the dropdown list for the ISM Band field.
Give an arbitrary name to your EVB as Name field.
Enter the DevEUI of your device that was viewed in Step 6.
In our case, it is 34-38-34-35-34-38-34-35(*)
Select Over-the-Air-Activation (OTAA) with local Join Server from the drop-down list as Activation Mode field.
Enter an 8-digit hex number in the JoinEUI field. Please record that hex number, which will be necessary in the next step.
In our example, we used 00-00-00-00-00-00-00-00
Enter a 16-digit hex number in the AppKey(**) field. Please record the hex number, which will be necessary in the next step.
In our example, we used:
34-38-34-35-65-37-92-15-00-00-00-00-00-00-00-00
Select a connection from the drop-down list in the Connections field. In our case, webHookForMKR1310 was used.
Click the CREATE button in order to complete the provisioning of your Arduino MKRWAN 1310 device.
The device definition is created, and INITIALIZATION means that TPC did not receive any packets from the device. So, it is quite normal.
In this step, the device definition for your Arduino MKR WAN 1310 device is created. Now, TPC is waiting for your LoRaWAN® packets to be processed and forwarded to the connection (i.e., Webhook site) you defined.
* Note that AppKey should be kept in a safe environment and should not be shared with anybody. As you can guess, the AppKey shown above is not the real AppKey of the device definition.
** Notice that this DevEUI is not real and is shown as an example.