In this step, you will:
– Download the zip file of the IDE from the Arduino website
– Install the IDE on your computer
In this step, you will:
– Download the zip file of the IDE from the Arduino website
– Install the IDE on your computer
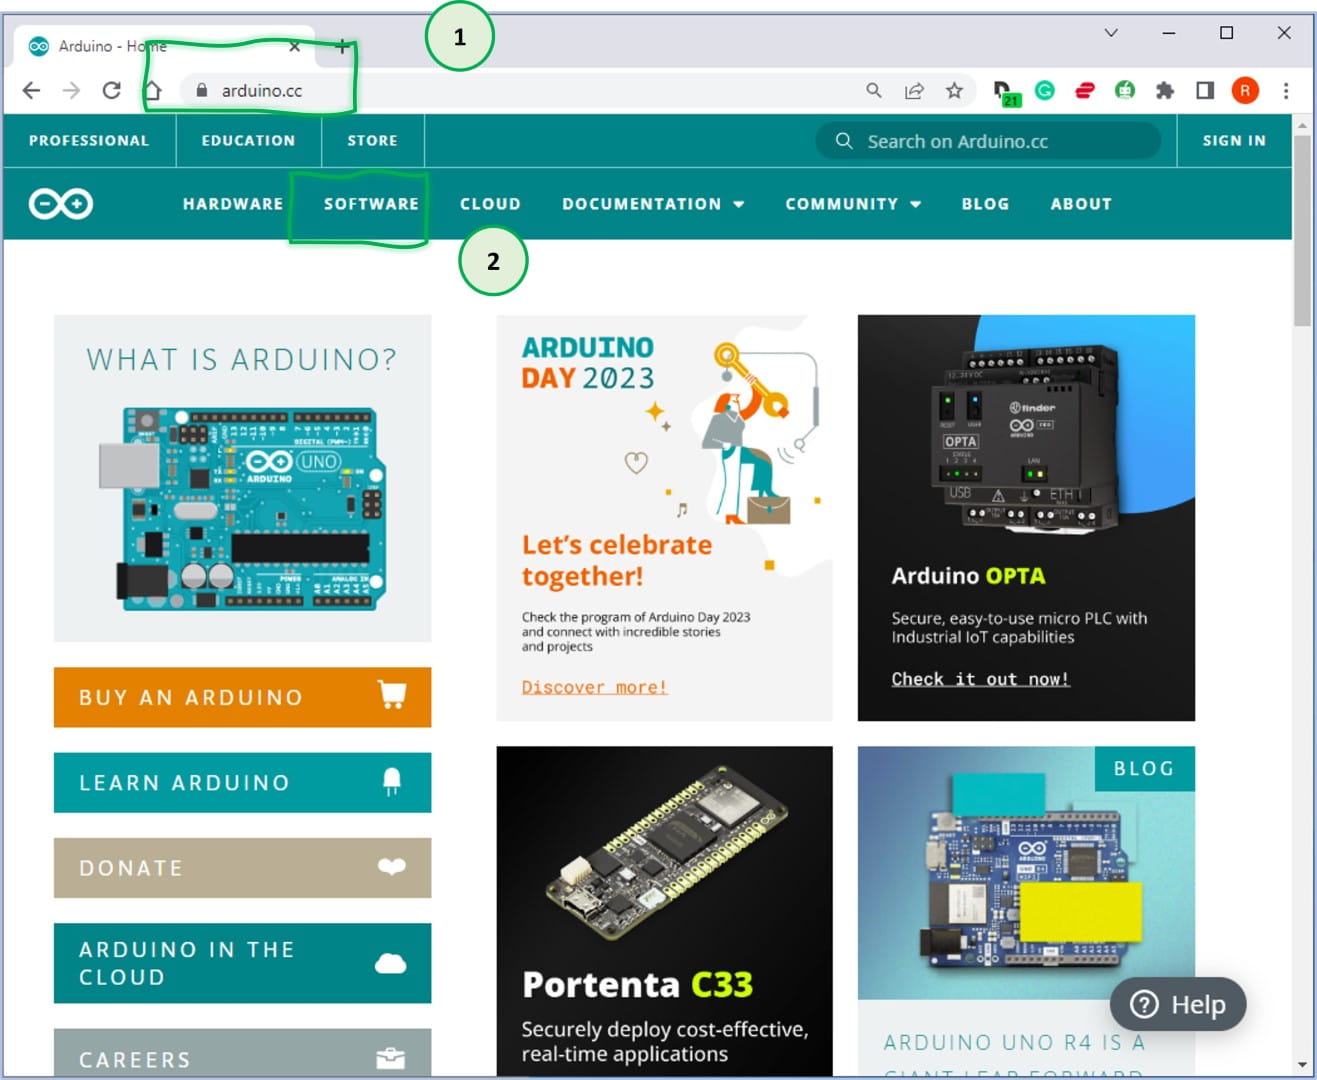
You are going to use the Arduino IDE to compile and upload your sketch to your Arduino MKR WAN 1310 device. For this, you have to install the Arduino IDE(*) on your computer.
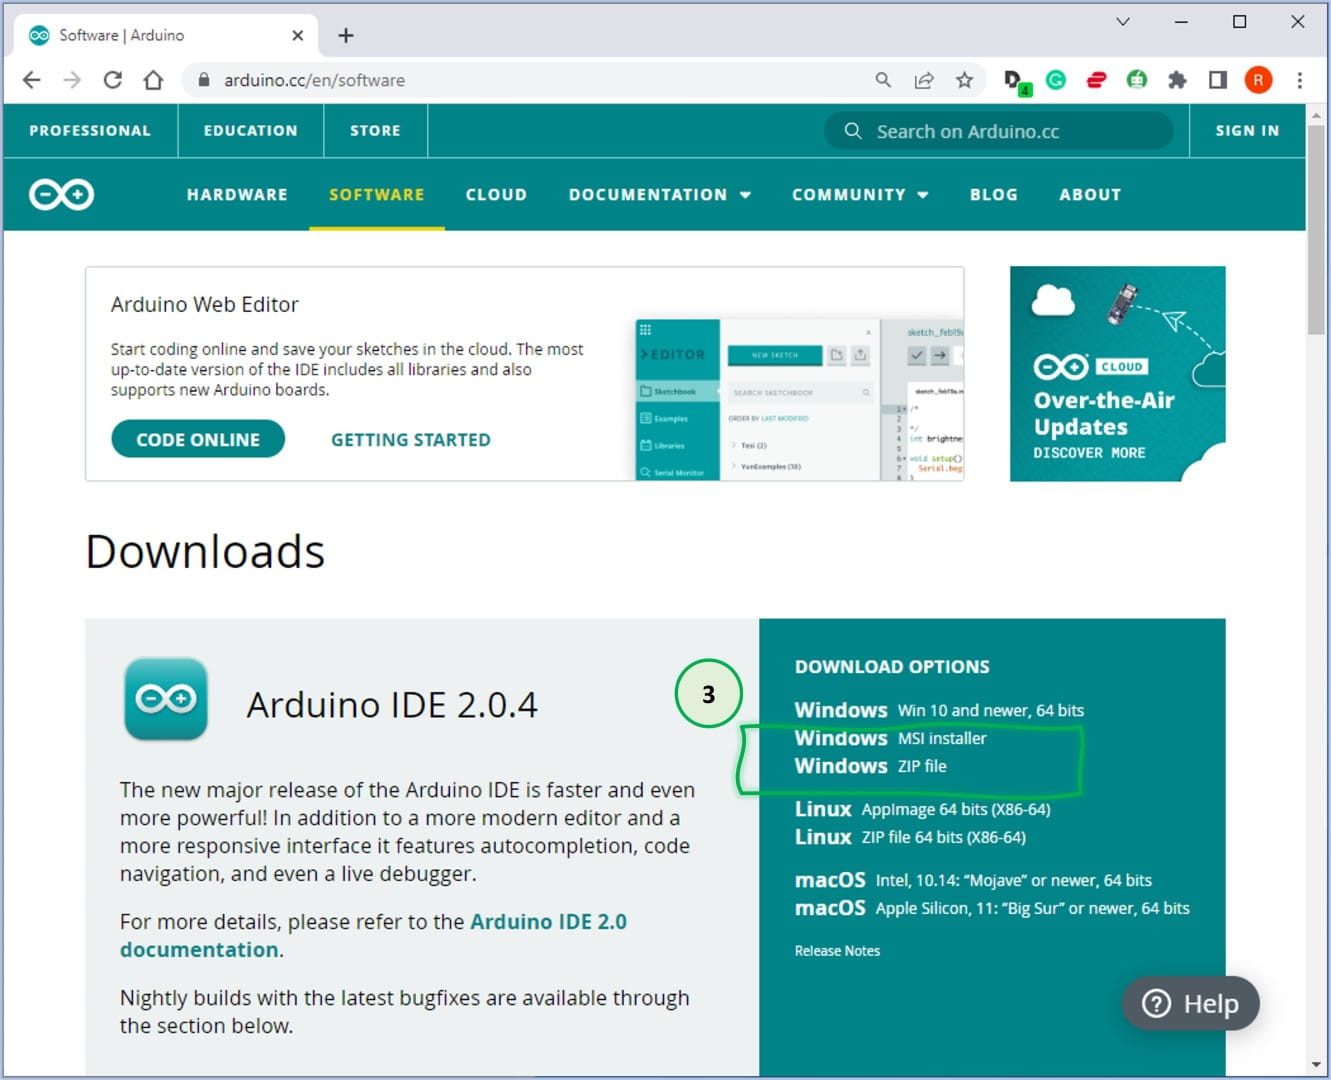
Select Windows ZIP file.
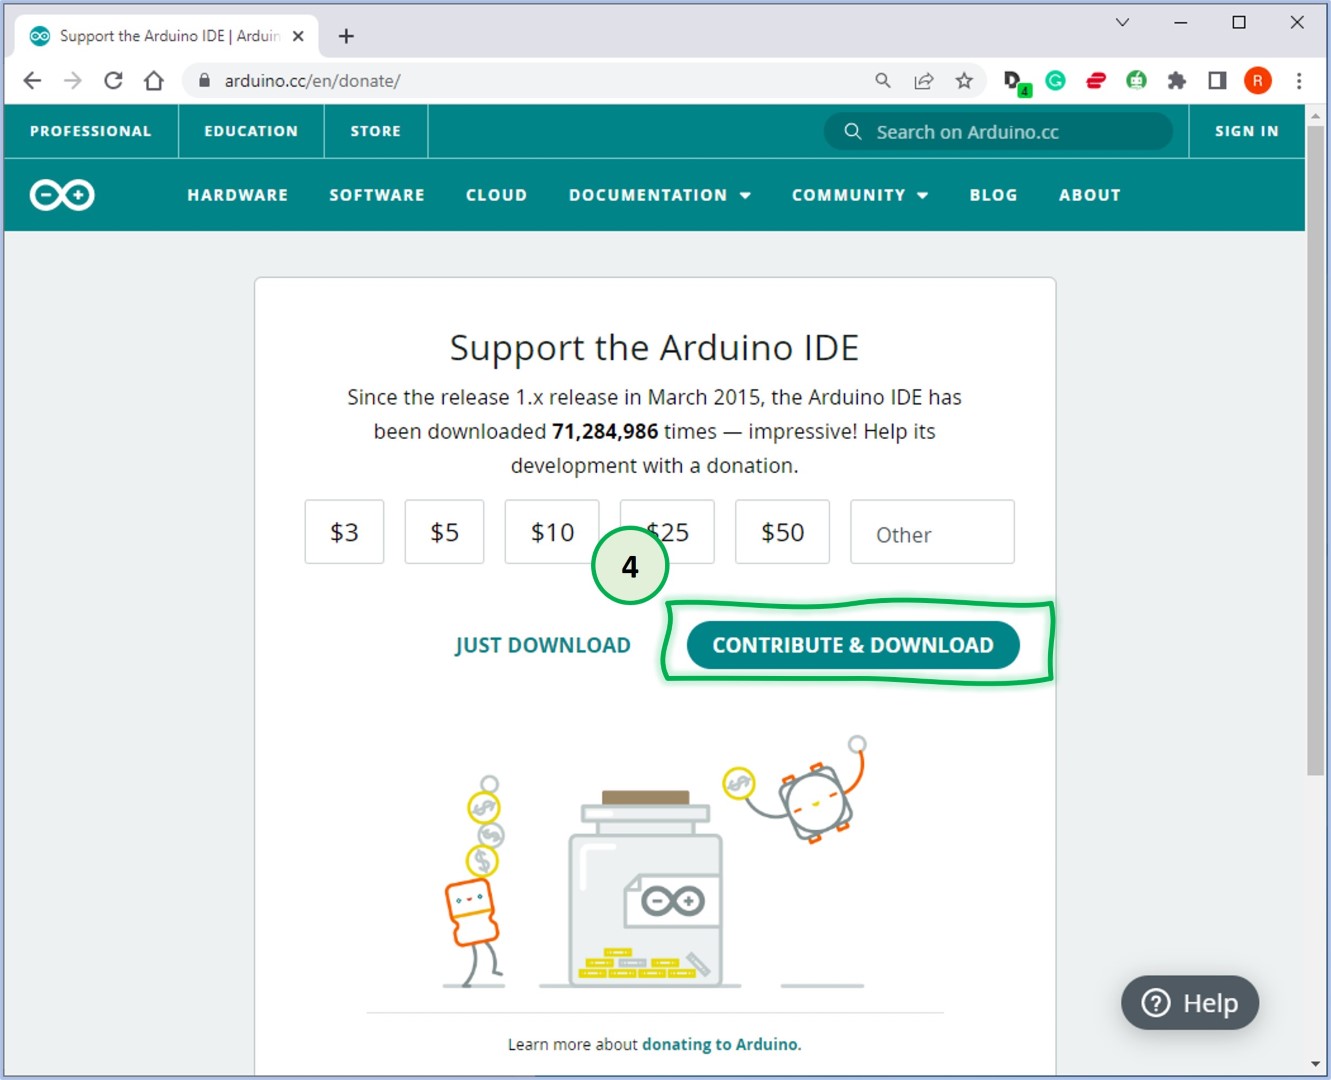
Please consider contributing to the Arduino community. Contributing to Arduino can be a great way to give back to the open-source community and help improve the Arduino platform for everyone.
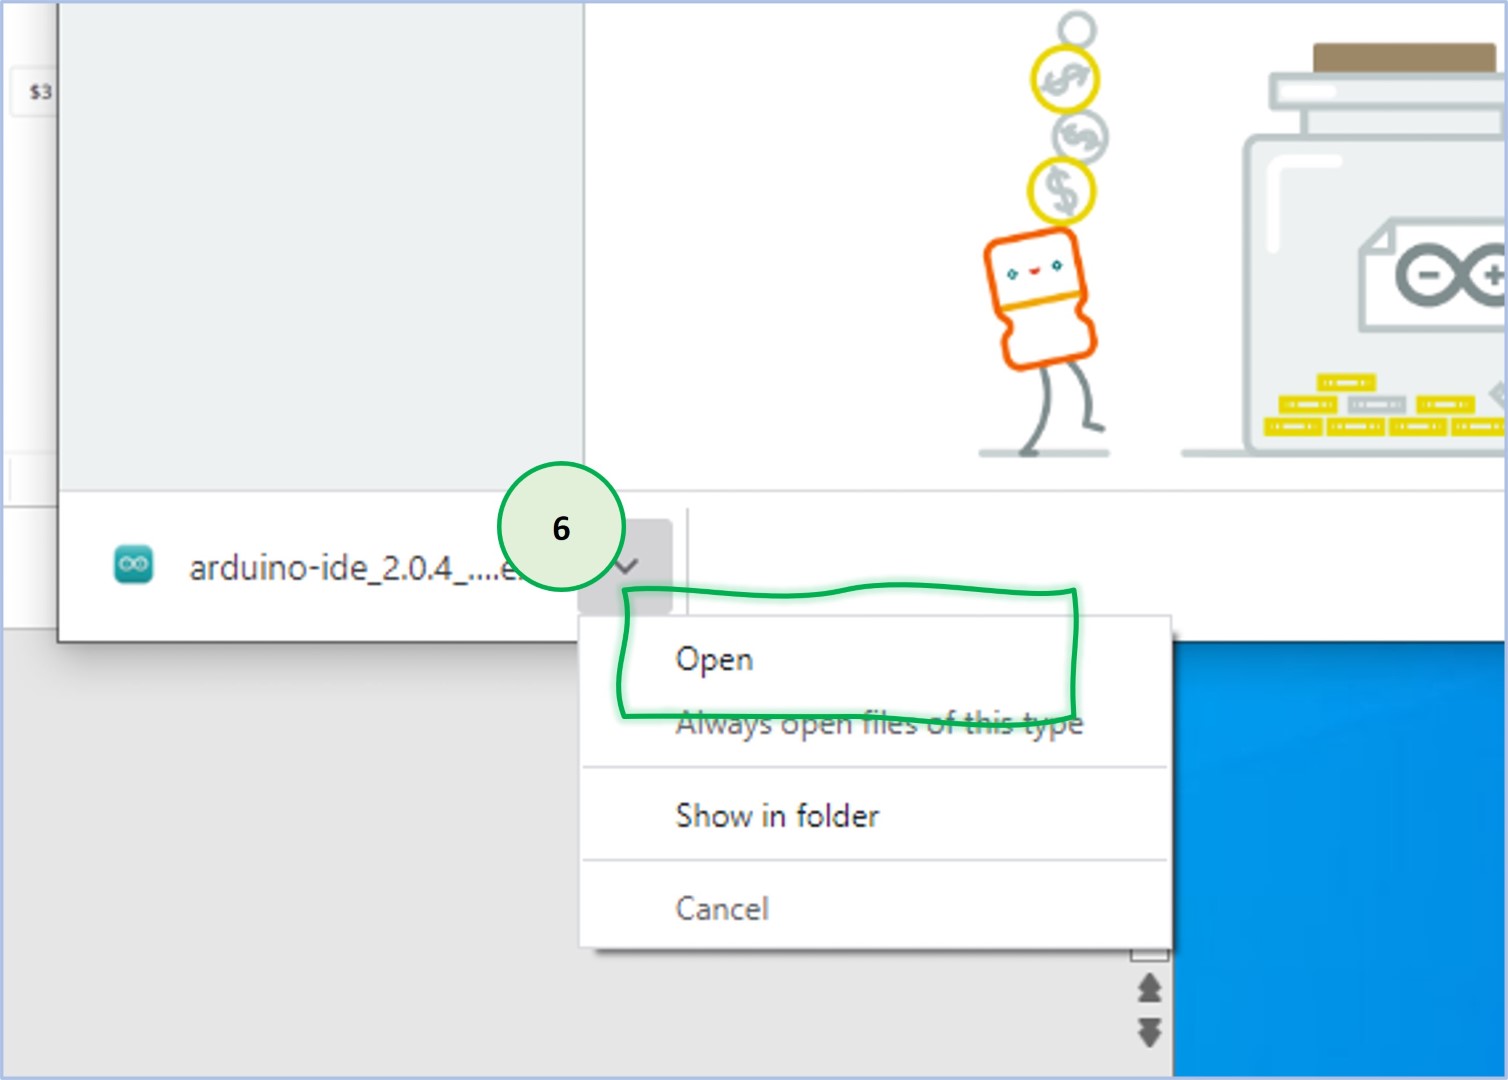
Download of the installation file starts automatically.
Click on Open to start the installation of the Arduino IDE.
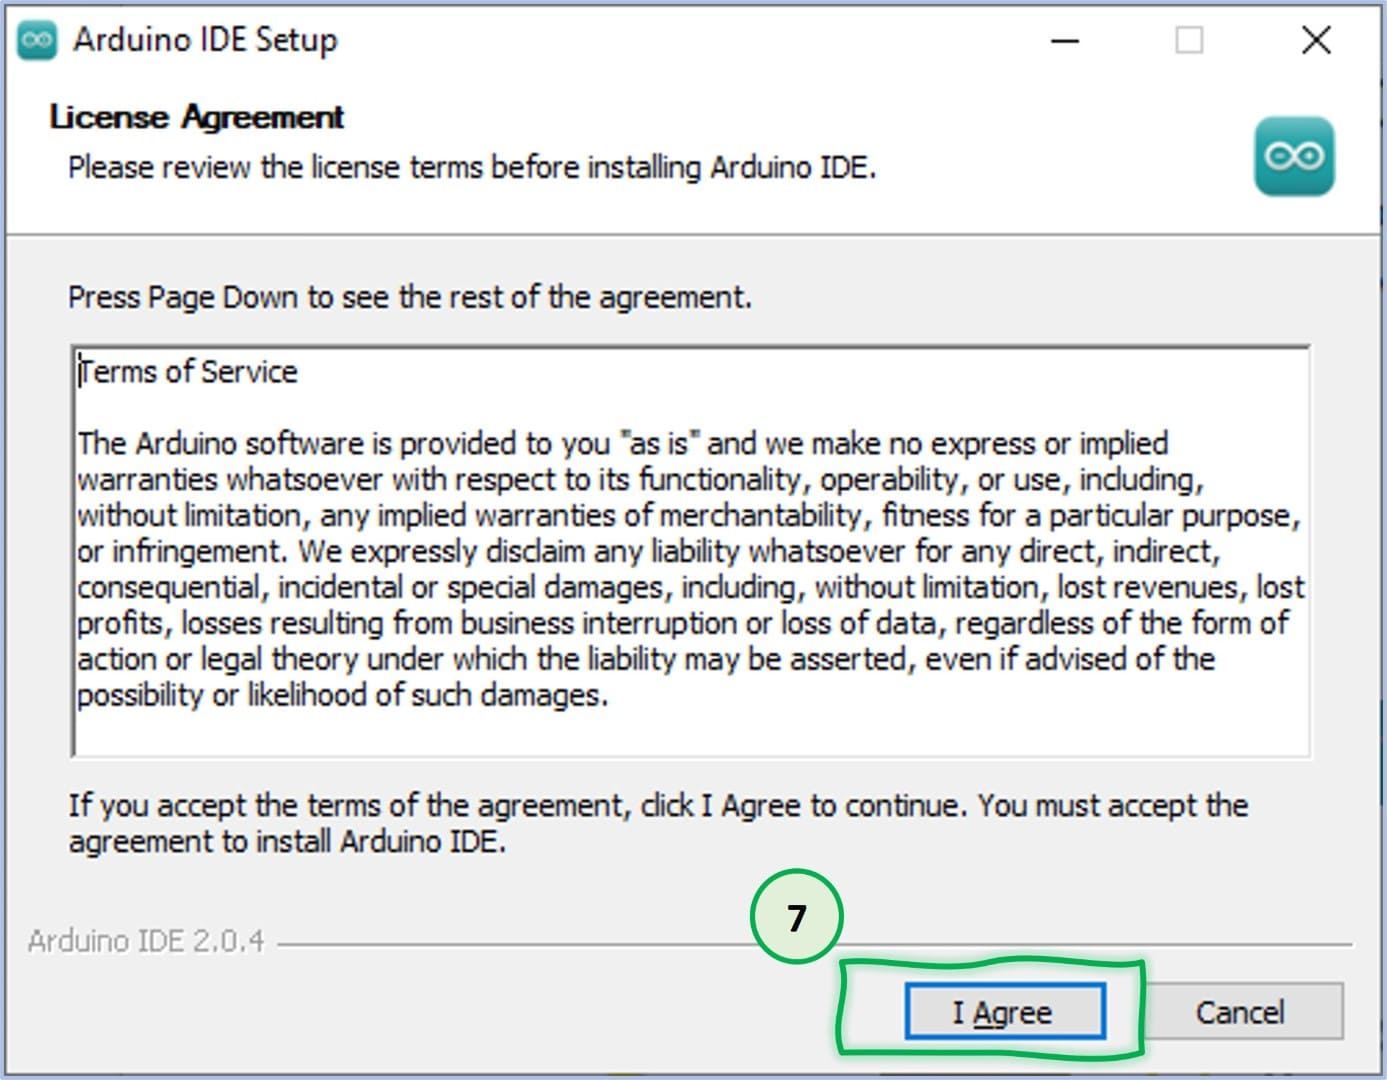
Read the Terms of Service and click on I Agree, if you agree with the Terms of Service.
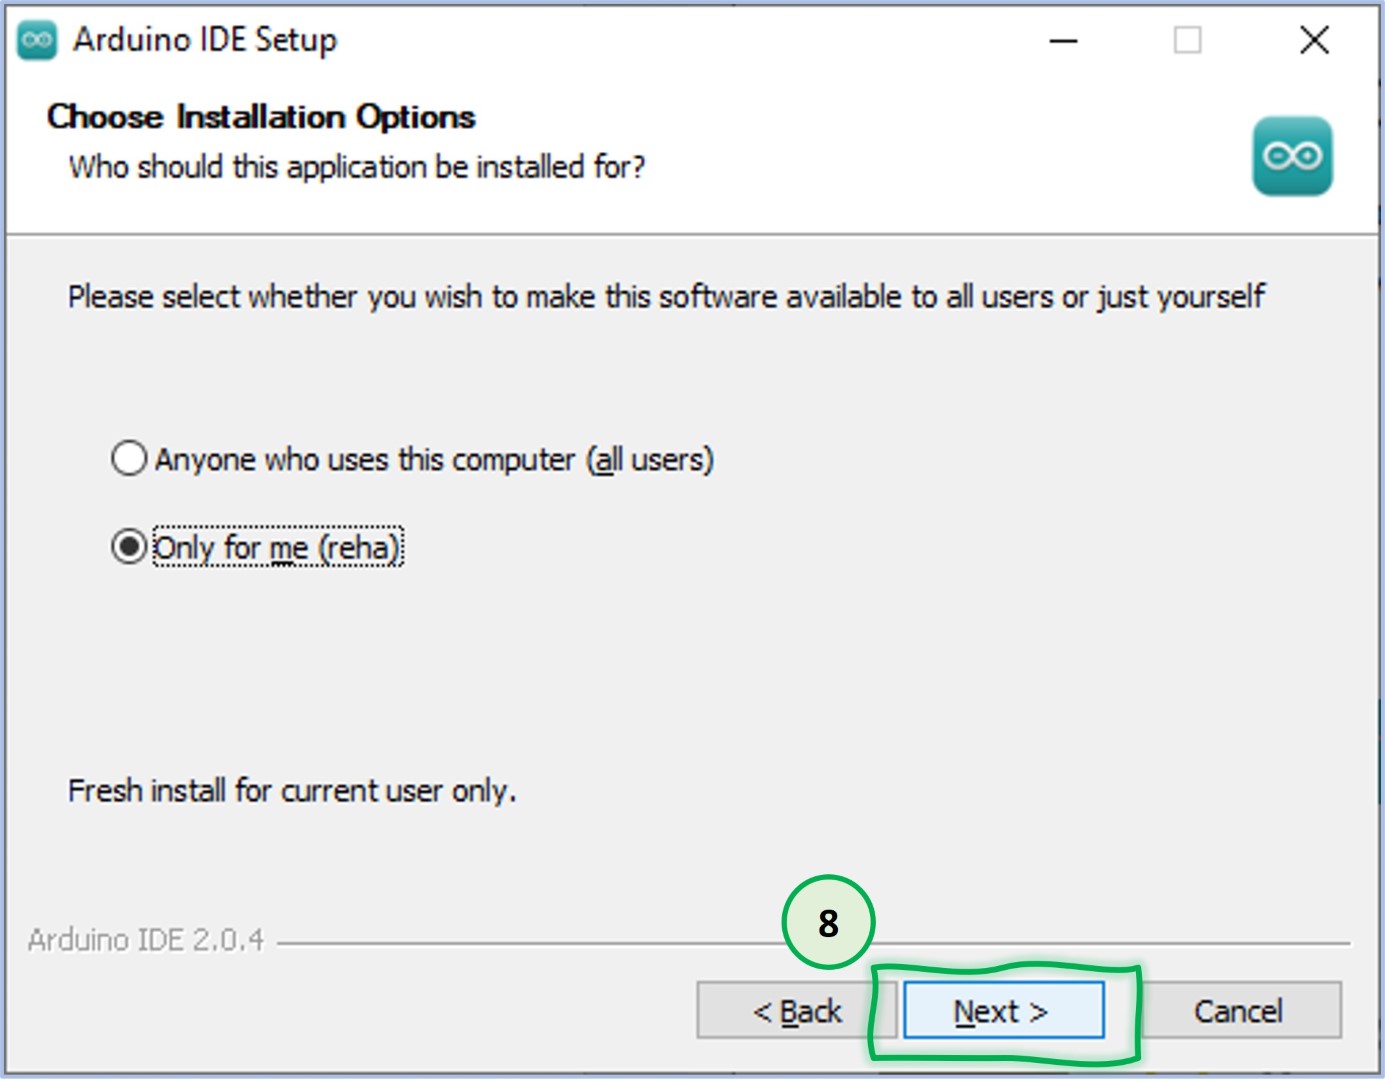
Select Next to continue the installation.
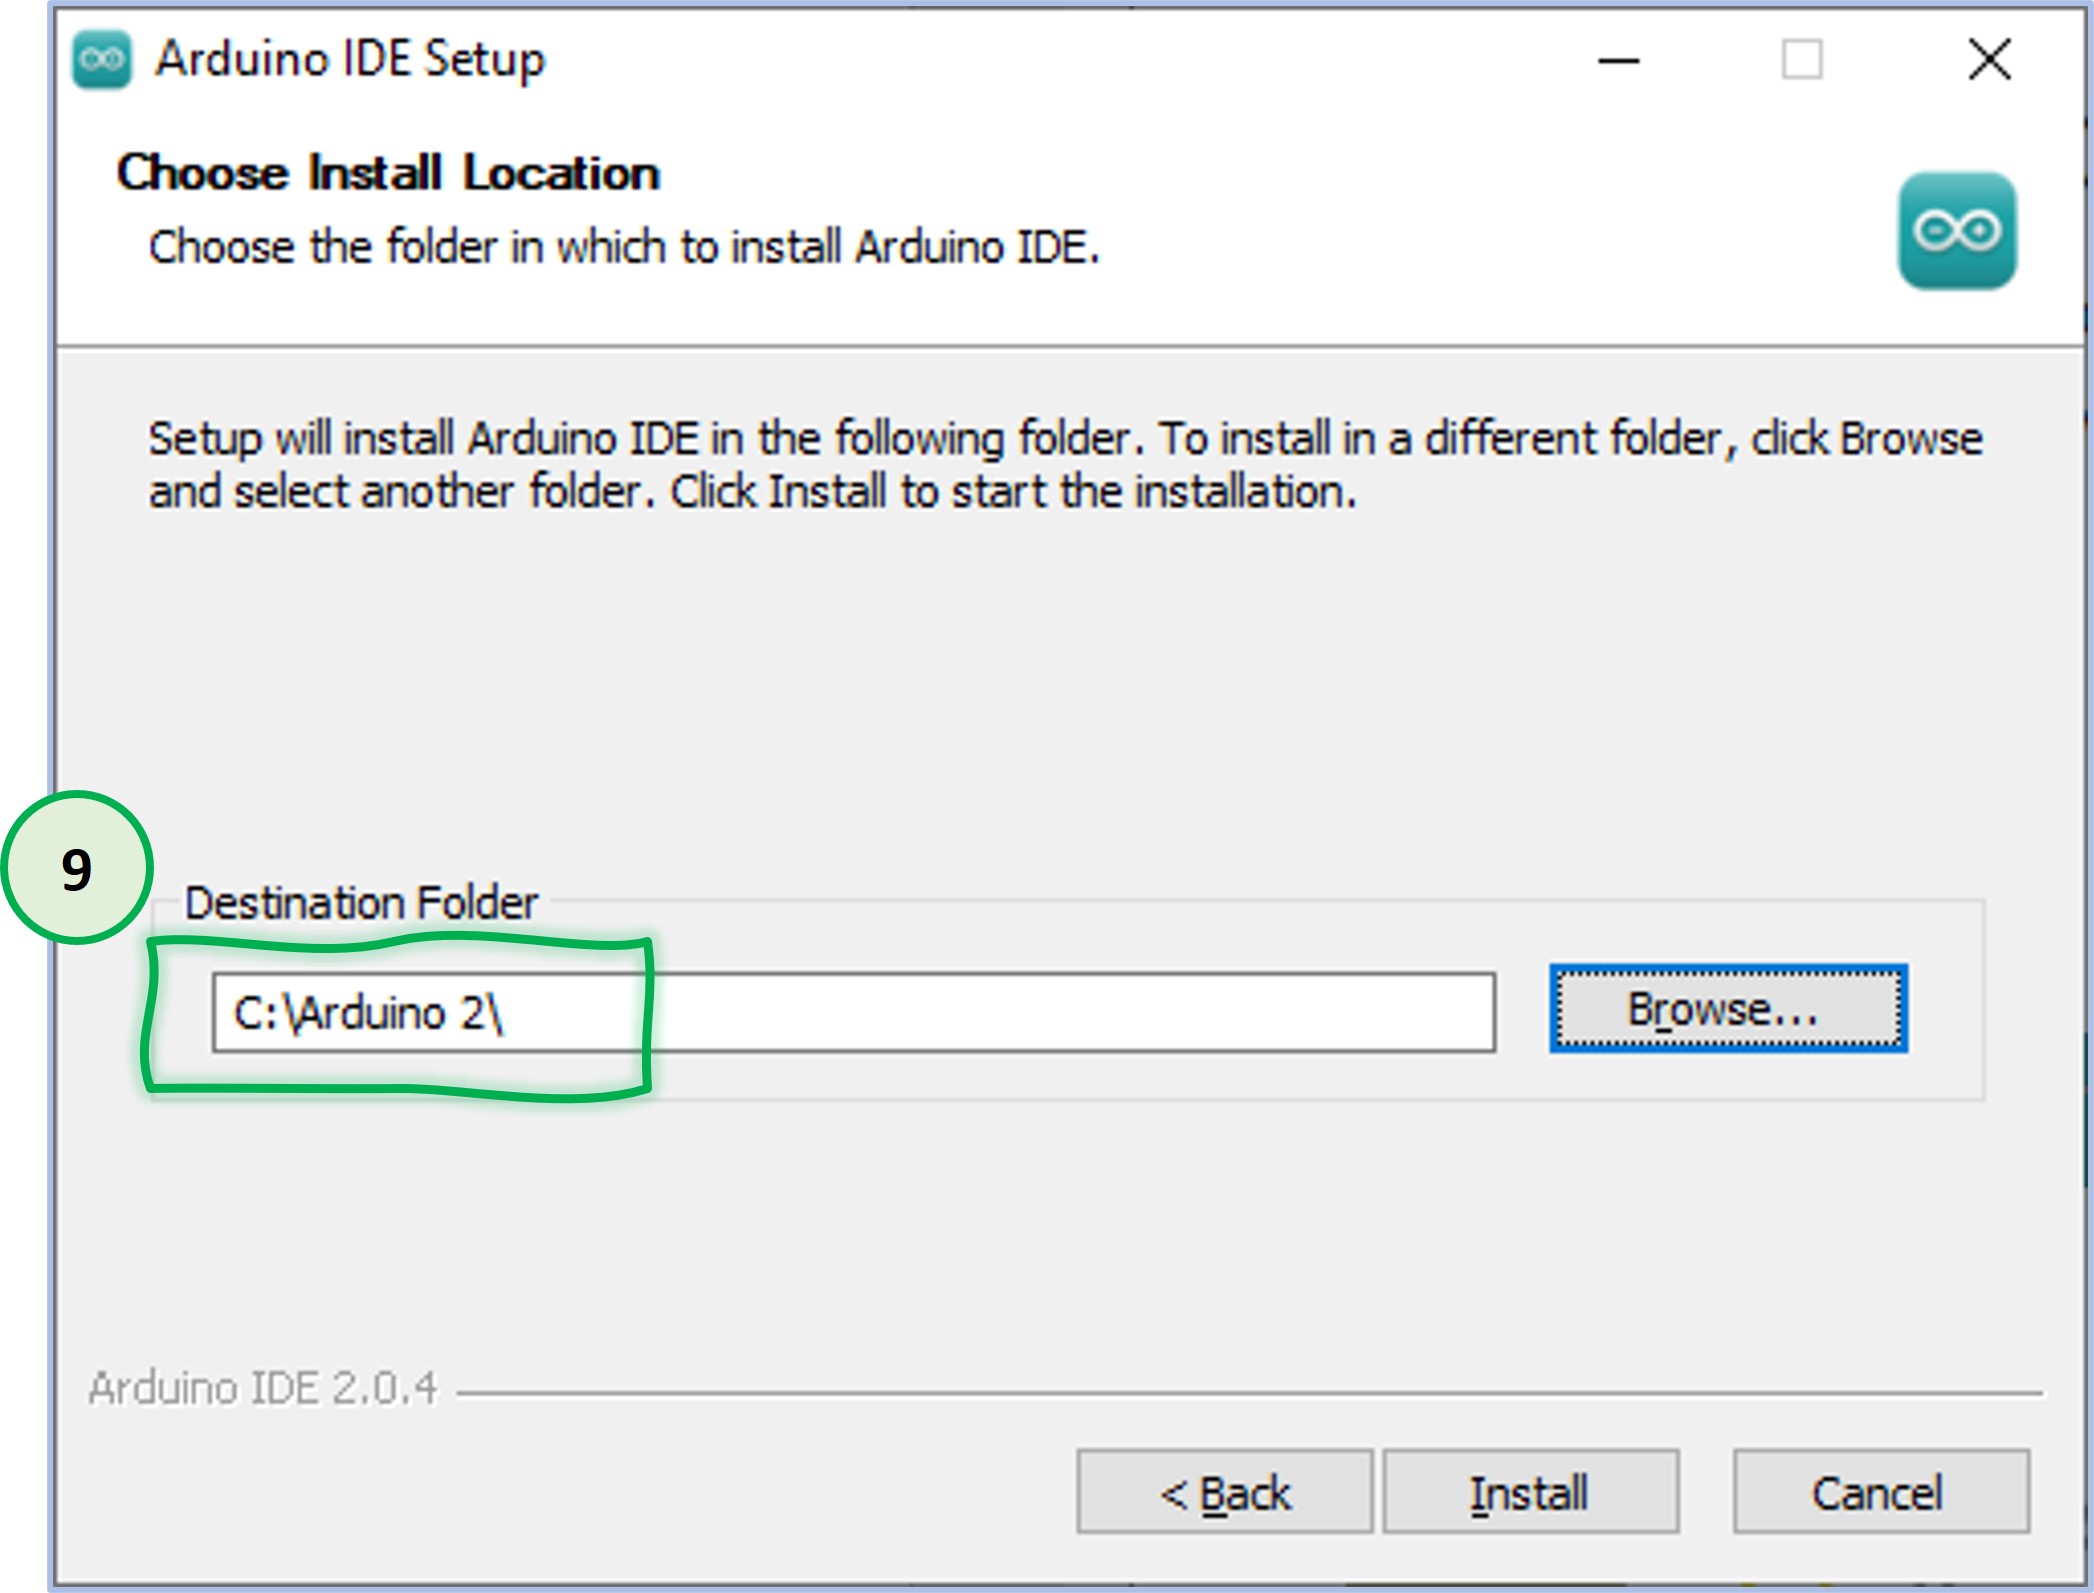
Select the installation directory.
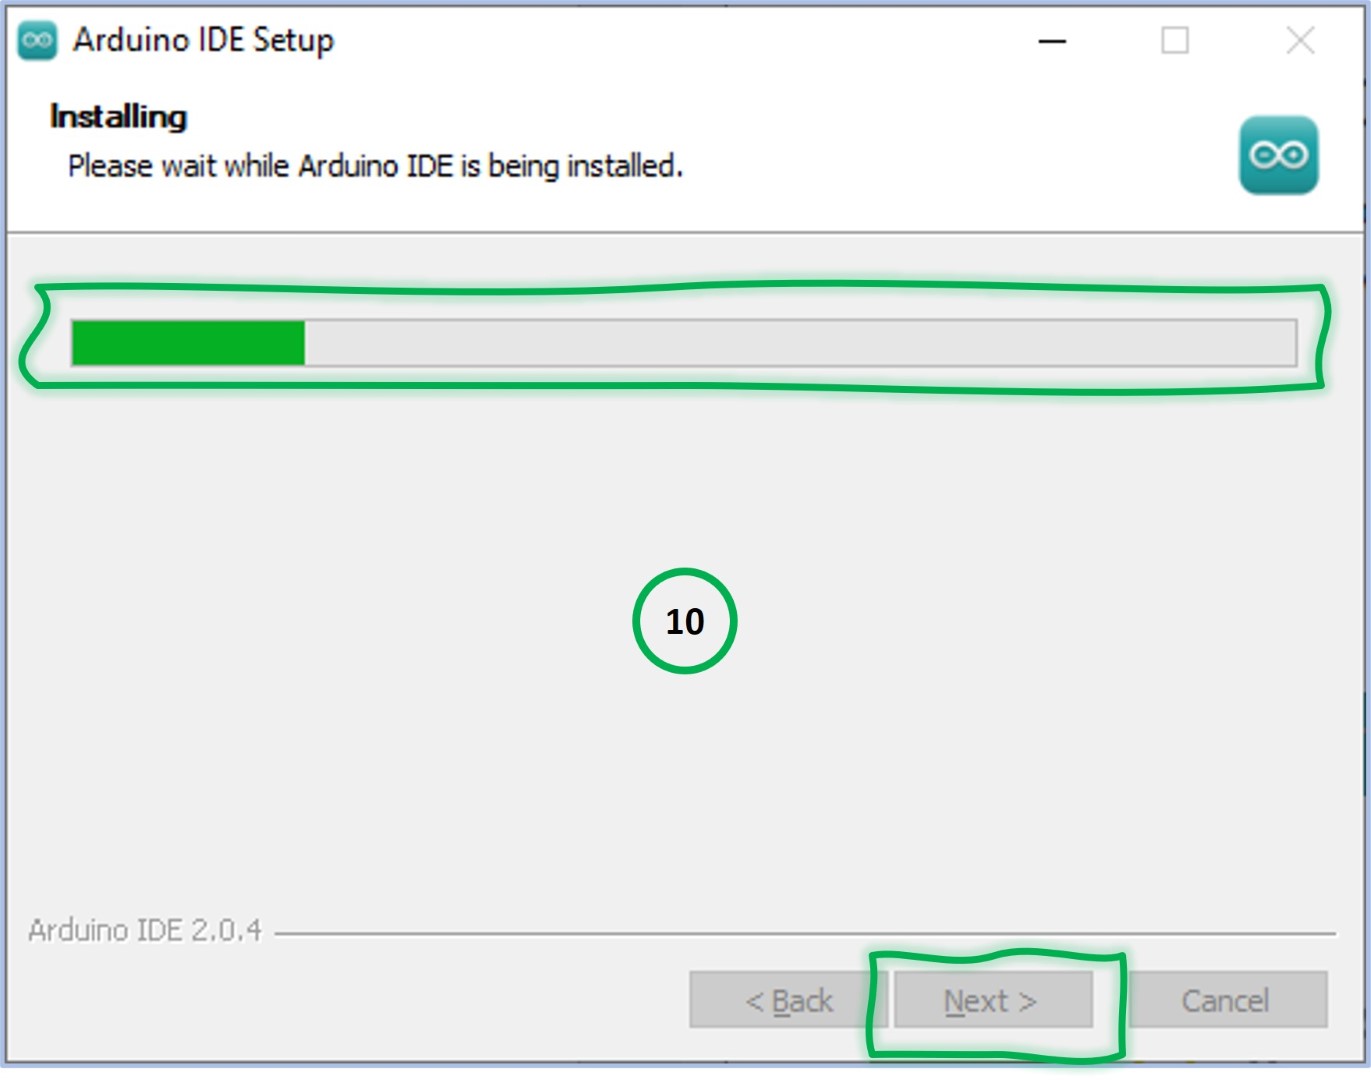
Observe the installation progress and press on Next to continue.
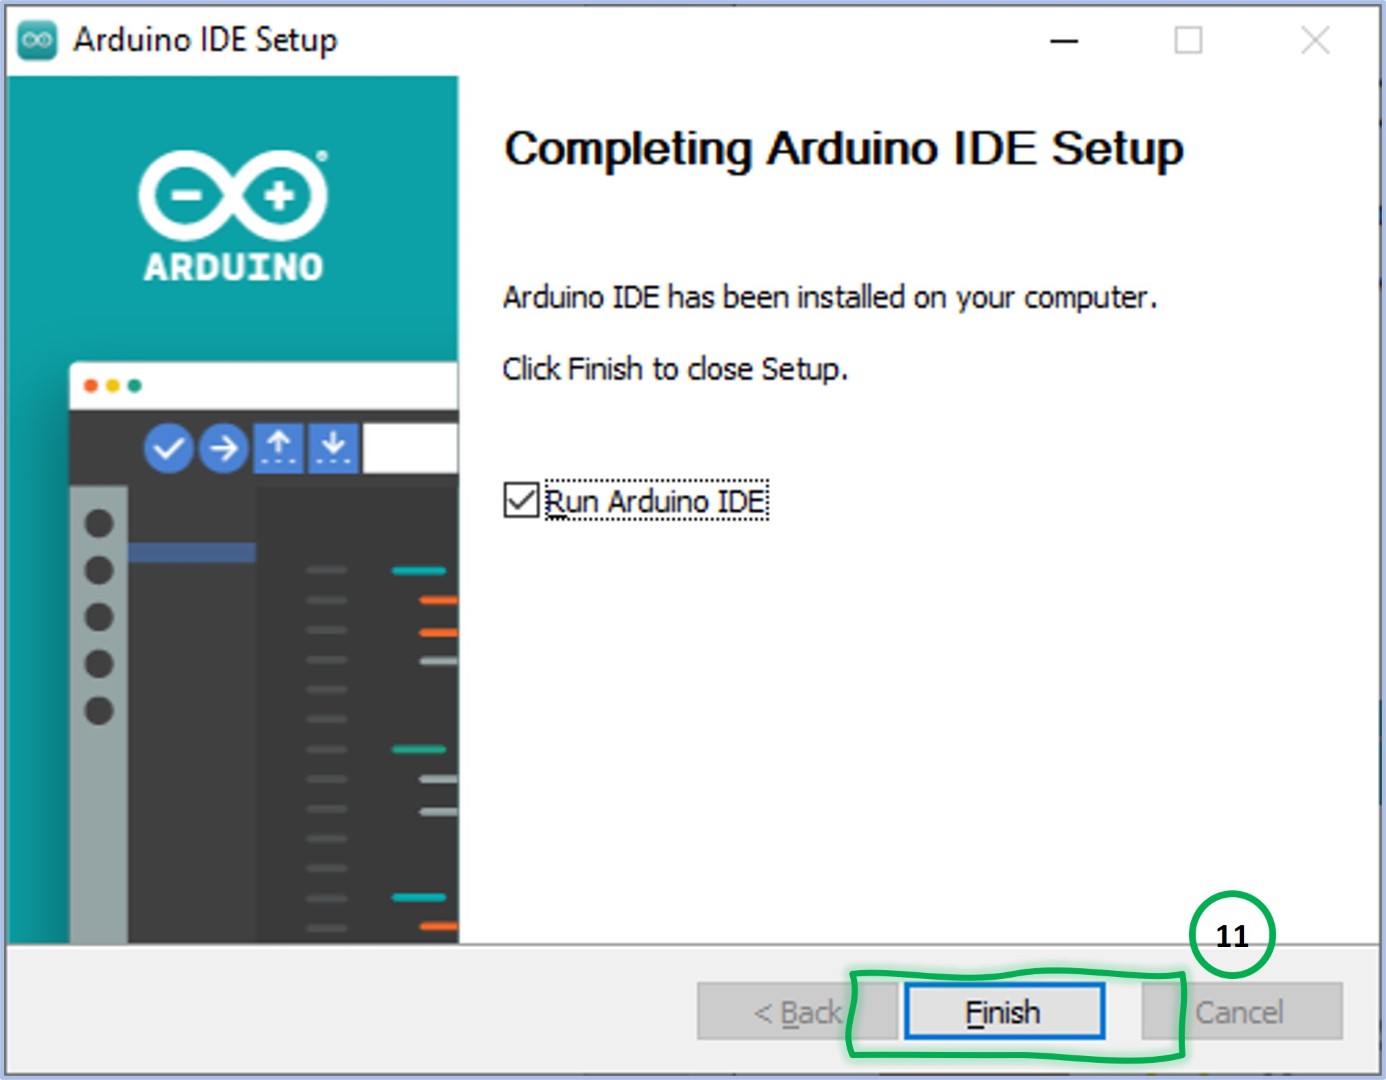
Click on Finish to finalize the installation and start the Arduino IDE application.
When installing libraries and using the IDE on a daily basis, the Arduino IDE requires internet access. That is why it is better to allow the Arduino IDE to access the internet. If it is suitable for you, click on Allow access.
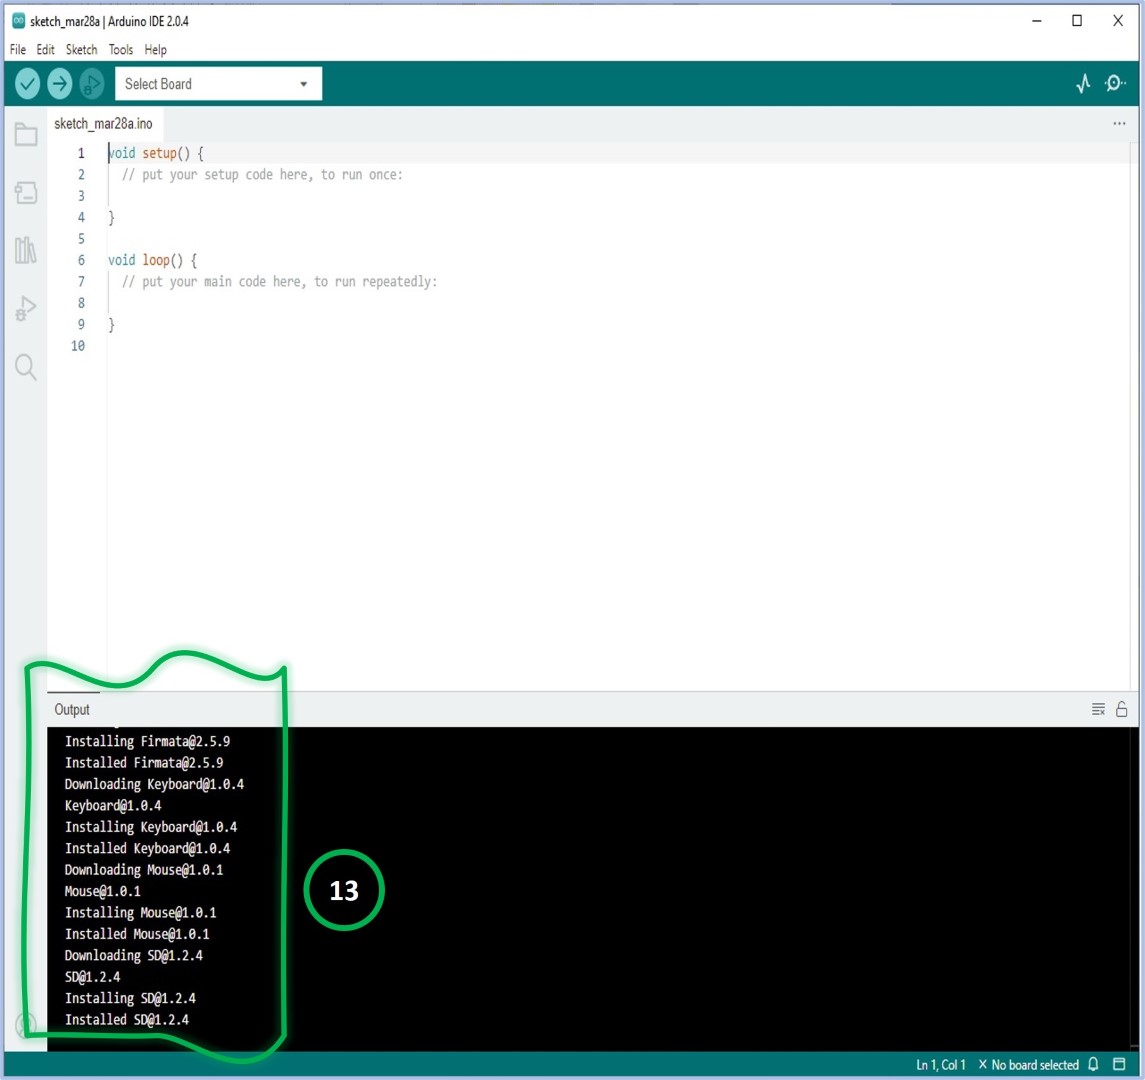
Wait until installation messages are finished in the Output window of the IDE.
As a result of this step, the Arduino IDE 2.0 is prepared for developing and uploading your sketch to Arduino-supported devices.
* Please ensure that your device (Arduino MKR WAN 1310) is not connected at this step.