In this tutorial, you will learn how to:
- Provision your trackers and GW.
- Relay positioning messages from your trackers to the Abeeway Device Manager application.
- Use the Abeeway Device Manager application to track your assets.
- Access online documentation to configure and use the Abeeway B2C mobile application.
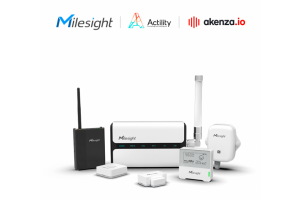
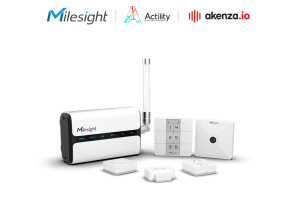
- Abeeway trackers of your choice
- A gateway pre-installed and configured
- An access to Abeeway Device Manager to manage up to 10 trackers
- An access to ThingPark Community to connect up to 10 devices
- Abeeway mobile B2C application
- Remotely monitor assets, vehicles' position, indoor or outdoor ; detect asset's critical angle, geofencing, etc. for typical verticals such as:
-
- Worker Safety
- Smart Utilities
- Smart Cities
- Smart Logistics
1. Getting started
2.Create a Connection to relay positioning messages from your trackers to the Abeeway Device Manager application
Now that your ThingPark Community account is set up, let us create a link between the network server (ThingPark Community) and the application (Abeeway Device Manager) before adding your trackers to the account.On your ThingPark account dashboard, go to the "Connections" tab on the bottom left menu, then click on "ADD CONNECTION" on the top right.Select a “Basic HTTPS” connection and create the following connection :
- Name : The name is mandatory but you can set anything you want
- URL : https://abeeway-eu-eco.thingpark.com:50540/
- Content type : XML
- Tunnel Interface Authentication Key : e8959e26fd9bce52700605a9cfe74d53
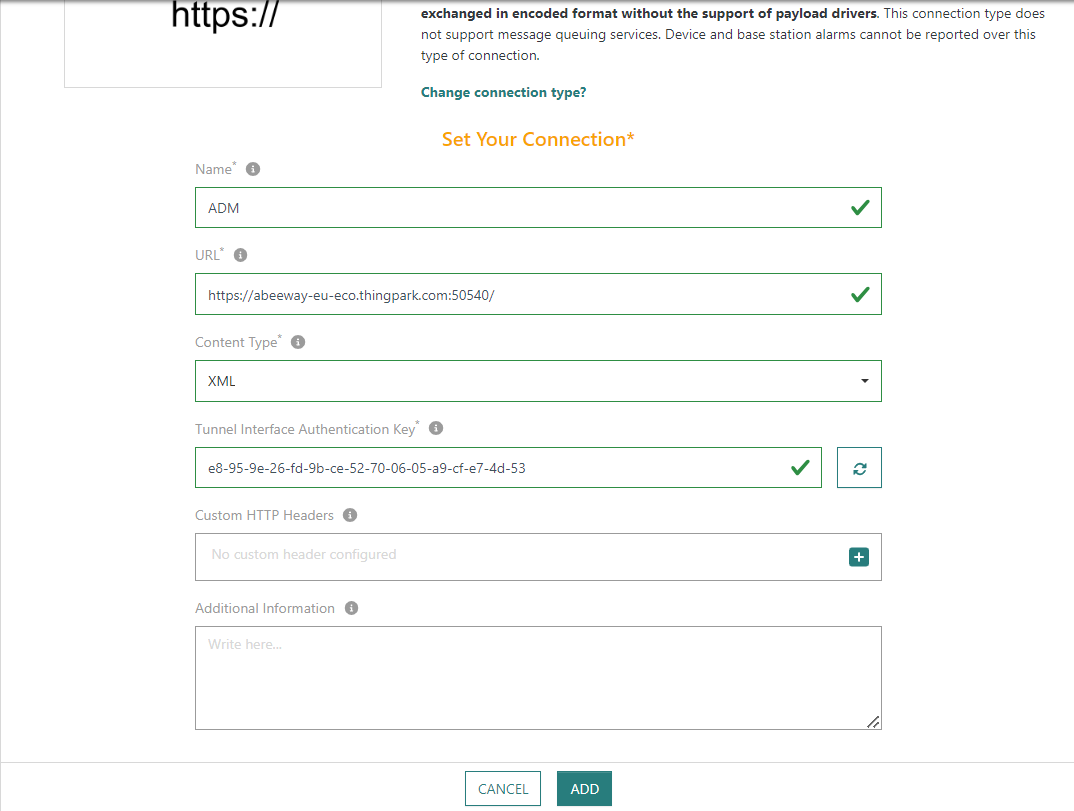
Click on ADD to finish its creation, you are now ready to add the devices on ThingPark !
3. Provision your devices and gateways on ThingPark
To proceed with the installation, it is required to add gateways and trackers to ThingPark.
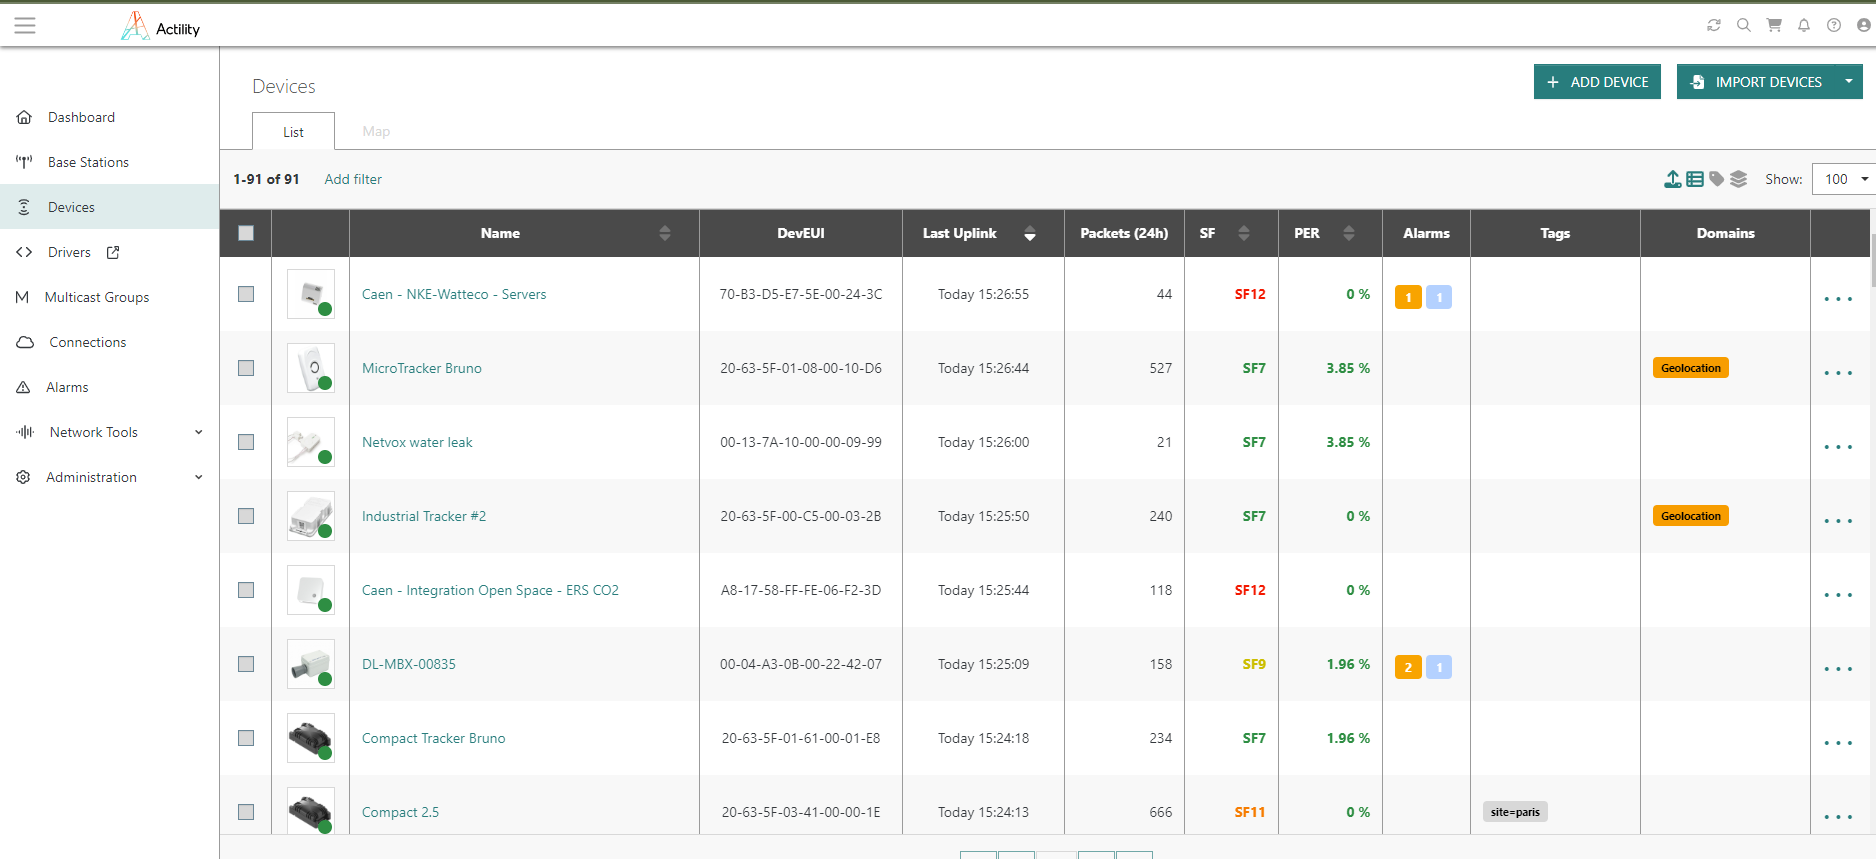
First the trackers. On your ThingPark account dashboard, go to the "Devices" tab on the left side, and click on the top right "ADD DEVICE" if you wish to add them separately. Alternatively, you can "IMPORT DEVICES" if you wish to add them through one single batch file.
Select the device manufacturers corresponding to yours, in this case Abeeway and follow the instructions and fill in the needed information. Click "View more manufacturers" if you cannot find your device in the list.
For each tracker, you have been provided with its corresponding LoRaWAN identifiers and security keys. Namely the DevEUI, AppEUI and AppKEY. In case you are missing them please contact Actility.
To relay positioning messages from each tracker to the Abeeway Device Manager application, assign such a connection by choosing the connection you have created in the previous step in the “Associate Your Device With Your Connections” option.
For more information and assistance please refer to our online documentation and assistance portal here.
Secondly the Gateways. The gateways are already installed with the correct required software. To provision them on your ThingPark account dashboard, go to the "Base station" tab on the left side, and click on the top right "ADD BASE STATION".
Select the base station manufacturers corresponding to yours and follow the instructions and fill in the needed information. Click "View more manufacturers" if you cannot find your GW in the list.
Following the instructions and fill in the corresponding details, using it's LRR UUID and public key listed in the provided excel file (order details and instructions).
For more information and assistance please refer to our online documentation and assistance portal here.
4.Track your assets
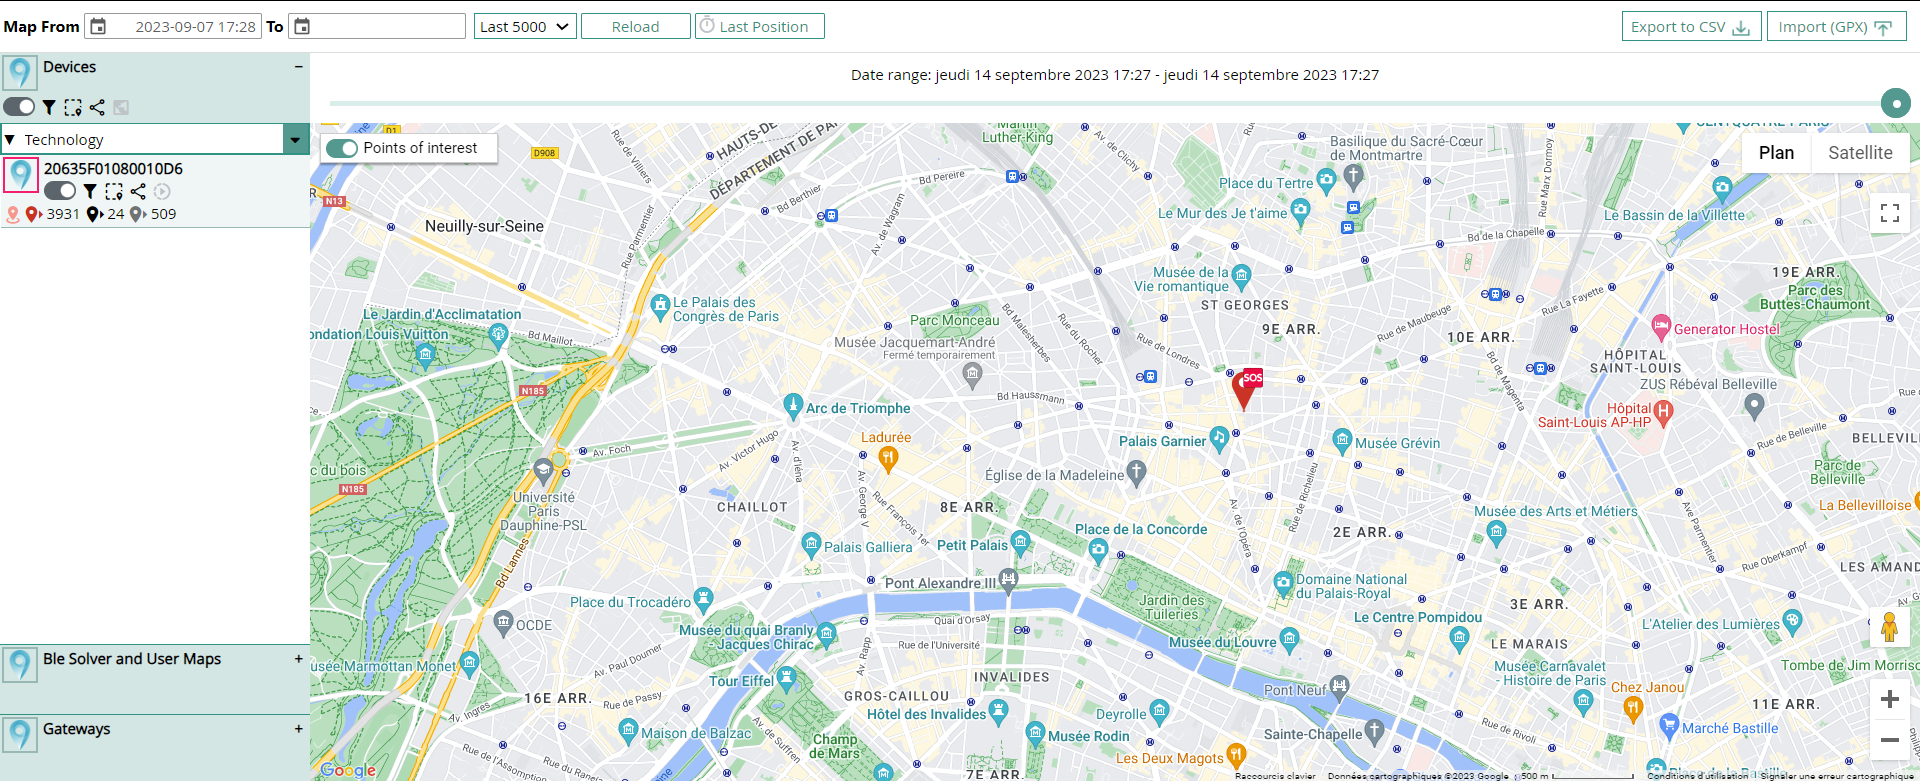
The previous steps enabled you to configure your trackers, GW and route positioning messages to the Abeeway Device Manager application.
Once your all-previous steps have been processed and the trackers have joined the network, please log in with the same user credentials as your ThingPark account to the Abeeway Device Manager application. Here : https://community.thingpark.io/thingpark/abeewayDeviceAnalyzer/index.php?dxprofile=community-api
To get familiar with the Abeeway Device Manager application, please refer to its on line user guide and the two tutorial videos here : 1 and 2
More technical information about the ThingPark Location solution can be found here.
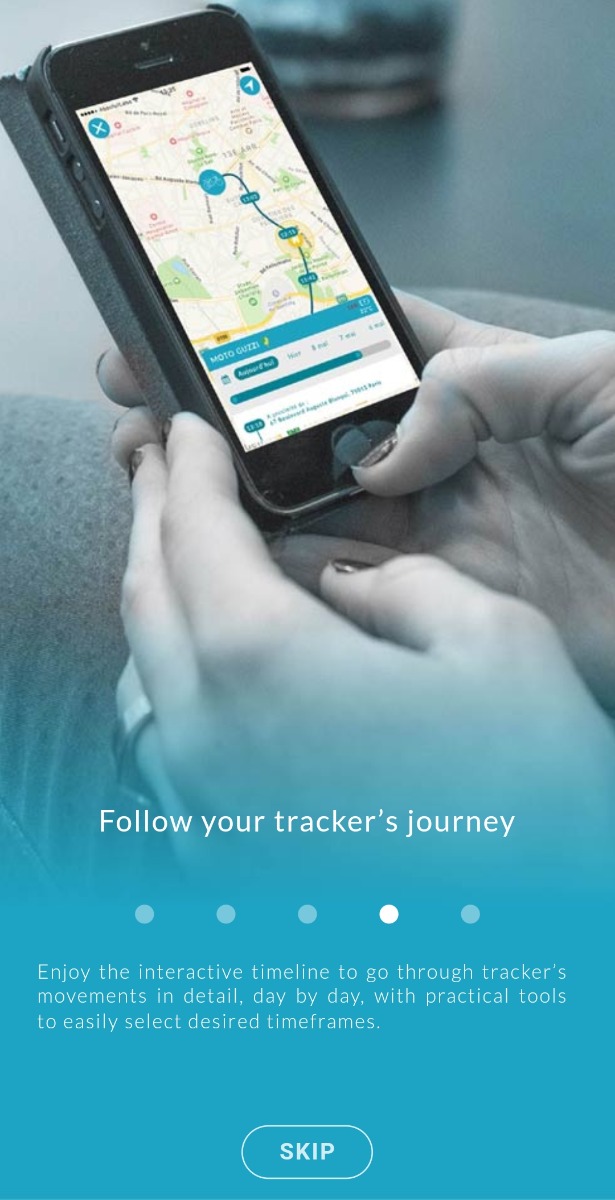
4. Abeeway B2C app
Finally, if you wish to use Abeeway mobile app, please refer to the full tutorial available here. This app allows to track assets in real time, easily visualize their movements', gain access to historic data and define geofencing alerts.
Good luck! And thank you for choosing Abeeway advanced geolocation solutions.